
Sections Enhanced Review
Manual informationEnhanced Review
Accessing Enhanced Review #
The Viewpoint review dashboard serves as the central workspace for creating protocols, executing reviews, and evaluating results. To begin on the Web Viewpoint Main dashboard, click on the Enhanced Review icon on the button bar.
Figure 1 - Viewpoint Review Dashboard
Enhanced Review Layout#
This will load the Enhanced Review page with 4 main panels.

Figure 2- Enhanced Review Panels
- Protocols Panel - This panel displays a list of all available review protocols.
- Protocol Details - Displays configuration settings and criteria.
- Run Summary - Provides execution status, document counts, and errors.
- Run Details - Displays AI-generated context, reasoning, and confidence scores.
Enhanced Review Protocol#
3.1. Creating Review Protocol#
To start a new review, you must build a new protocol to define what you want the A.I. to find in the selected documents.
Click the Plus Symbol in the Enhanced Review Protocol Window to create a new protocol and give it a descriptive name. Then in each tab of the Review Protocol Details window, enter as much information as possible in each tab to create context for the documents and to specify what criteria should be used to suggest any of the existing document tags in the database.
Figure 3 - Review Protocol Creation Panel
3.2. Overview#
Describe the case, project, or investigation.

Figure 4 - Review Protocol Case Overview Panel
3.3 – Criteria#
Figure 5 - Review Protocol Criteria Pane
3.4. Dates#
Figure 6 - Review Protocol Dates Pane
3.5. People and Entities#
List key participants, organizations, or custodians.
Figure 7 - Review Protocol People and Entities Pane
3.6. Keywords and Phrases#
Figure 8 - Review Protocol Keywords & Phrases Pane
3.7. Notes#
Provide supplemental reviewer guidance.
Figure 9 - Review Protocol Notes Pane
Executing a Review Protocol#
4.1. Protocol Selection#
Select the protocol number that you want to process and click on the Execute button.
Figure 10 - Protocol Selection Pane
4.2. Document Selection#
In the Wizard click into the drop down to select the View of documents that you wish to process.
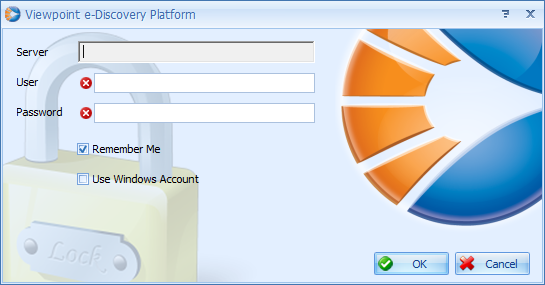
Figure 11 - Review Protocol Document Selection Pane
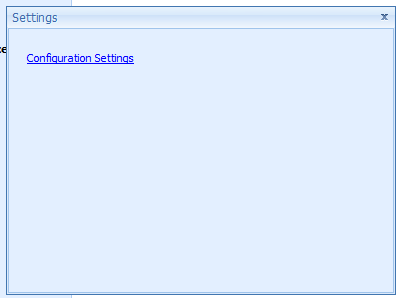
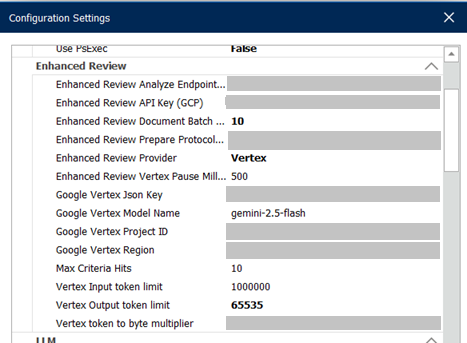
4.3. Select Document Tags#
Select which of the defined tags you wish to have the A.I. search for in the selected documents. It can be some or all the defined tags listed in the Criteria Selection tab.

Figure 12 - Document Tag Selection Panel
4.4. Summary Pane#
Ignore the red warning text if any documents have been previously processed in another run. The results of this run will be saved separately, and they will not overwrite or delete any summary or suggestions created during a previous run.

Figure 13 - Review Protocol Summary Pane
4.5. Execution#
Wait for the blue bar to finish building all the way across the window, then after the pop-up window disappears wait some more without a visual indicator that Enhanced Review is still processing.

Figure 14 -Review Protocol Execution Pane
When the protocol execution is complete, the bottom window for Run Summary will show the status of the completed run.
4.6. Run Summary#

Figure 15 - Review Protocol Run Summary Pane
Reviewing the Results#
5.1. Run Details#
The results of the protocol run can now be seen in a summary list in the lower right Run Details window.
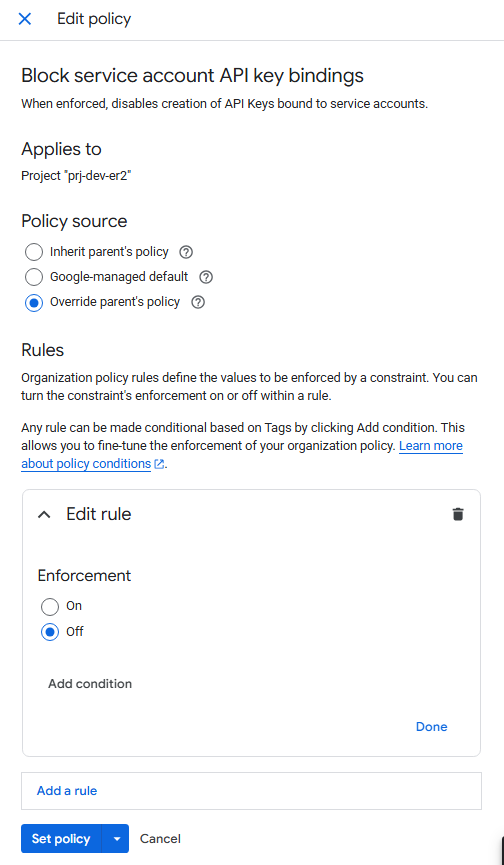
Figure 16 - Review Protocol Run Details Pane
The full text of the Context and Reasoning fields can be viewed in a pop up if you hover your mouse pointer on the row you want to see. This is not the screen designed to give you full view of these details, but only a summary screen so you can see how many hits there were across the documents processed.
Note the number of criteria found may exceed the number of documents processed, as shown below where the first doc ID 222 has two different suggestions for a Responsive tag. Each is explained with a quote from the document in the Context field and an AI generated explanation of why the quoted section meets the Criteria defined in the protocol for that tag suggestion as shown in the Reasoning field.
Each suggested tag also has an ER Score ranked from 1 to 100 to show how confident the A.I. is that the document matches the defined Criteria for that tag.
Figure 17 - Review Protcol Context and Reasoning columns
5.2. Document Viewer Results#
To view the Enhanced Review results on the Document Viewer page, click on any Doc ID number to launch a new browser tab with the Document Review page. This will display the single doc ID you selected in the document list on the left. You may also change the view in the first drop-down menu in the Document List window to see all the documents in the same view that you have just processed and then you may view the results of one document after another.
To open the Enhanced Review window, select your target Protocol Run from the second dropdown menu in the Document List window. To view a document, select its row in the Document List.
Within the Enhanced Review window, you must select and expand each separate suggested tag to see the results. If there are more than one Criteria hit for each tag, you can use the < and > arrows to toggle between the results.
In the Enhanced review window if you click on the Approve button it will apply only the selected tags to the tagging panel and make them the actual tags on this document.
The tags cannot conflict with each other or the tagging rules for this Coding Panel, or you will get an error message, and they will not be applied.

Figure 18 - Document Viewer Panes
Once tags are approved, there will be a message in the Enhanced Review Window to show that they were applied, and the Approve button will no longer be visible.
Figure 19 - Document Tag Approval Pane
Notes#
To ensure maximum accuracy, tags are approved individually. Because documents often contain multiple tag conflicts, this manual step allows you to review and select the correct tags for each document, preventing errors and maintaining high-quality data.
If you use two monitors, you can optimize your workspace by placing the Document List and Document Viewer on one screen. This frees up the second monitor to host the Coding Panel and an expanded Enhanced Review window, allowing you to view the full text of all suggested tags without scrolling.
On a single monitor, you can maximize your workspace by positioning the Enhanced Review window at full width across the top of the screen. This layout keeps the document viewer large enough for comfortable reading.
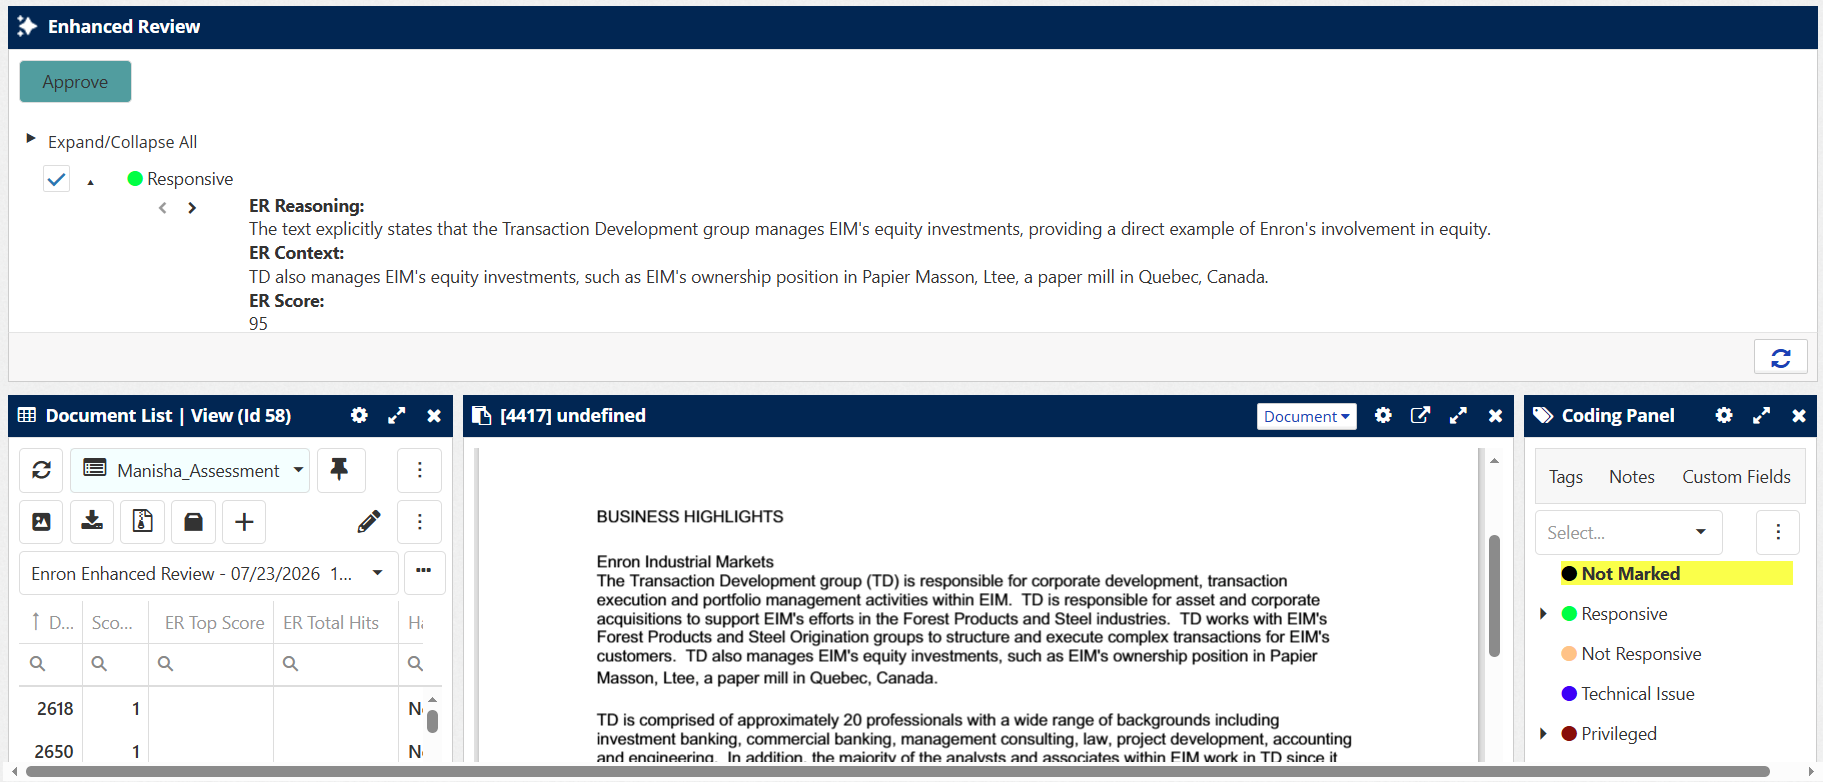
Figure 20 - Enhanced Review, Document Viewer, Coding Panel Layout