
Sections MS Teams Collection
Manual informationMS Teams Collection
1.0 | Fe 14, 2024 | Initial Version | Viewpoint Team
Document conventions
Convention | Explanation |
|---|---|
Bold | For file names, commands, fields, menus, options, and window names. |
Courier New | Commands as you should type them. |
Lucida Console | Example output generated by the system. |
Italics | For configuration variables, including variable portions of file names and URLs. Also indicates a document name. |
Note / Blue Callout | The Blue Callout text indicates information that is of special interest or importance, an idea that could be useful or additional information about a product or a feature. |
| The Caution icon along with the text indicates actions that can lead to problems in system operation or configuration settings if the instructions are not followed properly. |

Revision history
This section tracks the initial creation of the document after each major version thereafter.
Ver: | Date | Description | Reviewed / Approved By |
|---|---|---|---|
1.0 | Fe 14, 2024 | Initial Version | Viewpoint Team |
Overview#
Viewpoint is capable of processing Microsoft Teams (MS Teams) data which has been extracted from the Microsoft Compliance Portal. This guide outlines a process for collecting data from MS Teams and processing the data in Viewpoint. This document contains information about the Microsoft 365 Compliance Portal as it was at the time of this document’s creation; the Microsoft 365 Compliance Portal may change without notice.
Process#
The overall process involves these steps:
- Log on to the Microsoft 365 Compliance Center and create an eDiscovery Case
- Create a Search
- Execute the Search and extract the data
- Process the exported data in Viewpoint
Log on to the Microsoft 365 Compliance Center and create an eDiscovery Case
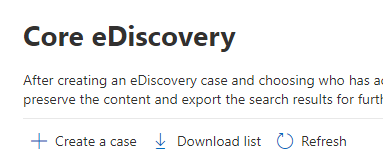
- Open a web browser and navigate to the Microsoft 365 compliance center’s Core eDiscovery page. At the time of this document’s writing the URL is: https://compliance.microsoft.com/classicediscovery
- If you have not already created a Case:
- Click the link for “Create a Case”:
- Name the case and save it.
- Click the link for “Create a Case”:
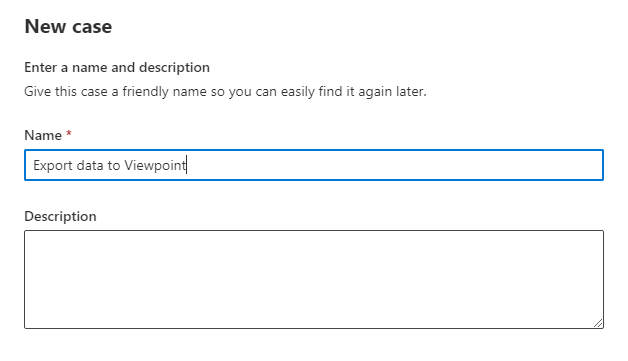
- You have now either identified an existing Case or created a new Case.
Create a Search
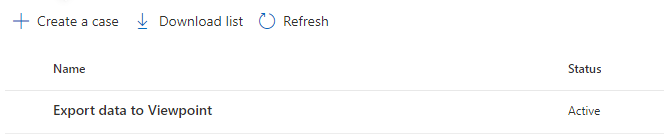
- On the Core eDiscovery page, select your Case in the results grid.
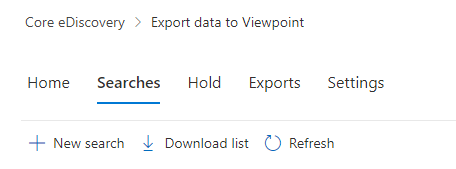
- Click on the “Searches” tab on the upper part of the screen.
- Click on “New search” on the upper part of the screen.
- Input a name and a description for your search.
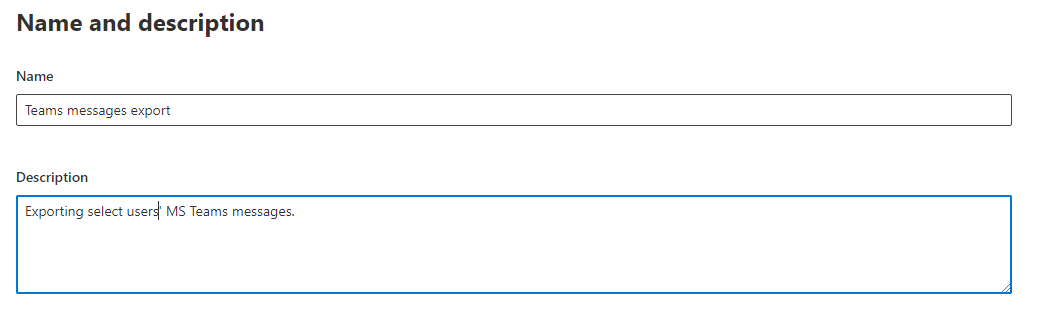
- Select the location(s) and data you want to export.
- Exchange mailboxes: These include users’ regular emails, as well as their Teams messages. NOTE: Attachments from Teams messages will be in the sender’s SharePoint sites.
- You may choose whether to get all of the users’ data or select the content you want to retrieve manually.
- Exchange mailboxes: These include users’ regular emails, as well as their Teams messages. NOTE: Attachments from Teams messages will be in the sender’s SharePoint sites.
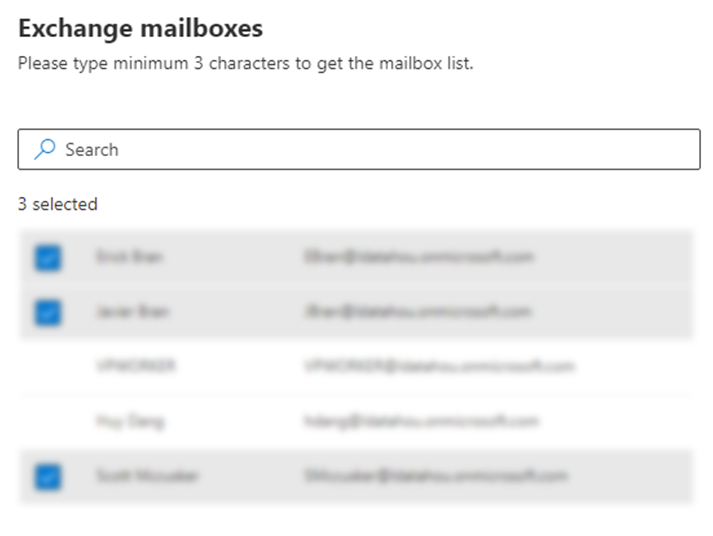
- SharePoint sites: These include the company’s SharePoint sites, as well as the users’ OneDrive files and attachments from Teams messages.
- Exchange public folders.
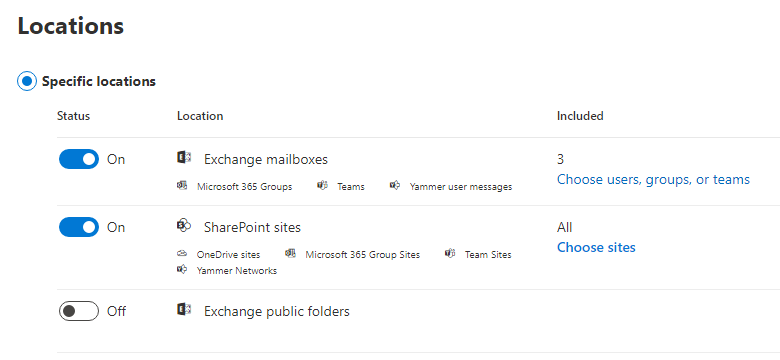
- Click next.
- Define search conditions (Optional). Here, you may set several filters to narrow down your export dataset. Click “Add condition” below and define your conditions. Some of these conditions are:
- Date
- Type: Here, you may filter the export down to only E-mails, Documents, IMs, or any combination thereof.
- Participants / Sender / Recipients
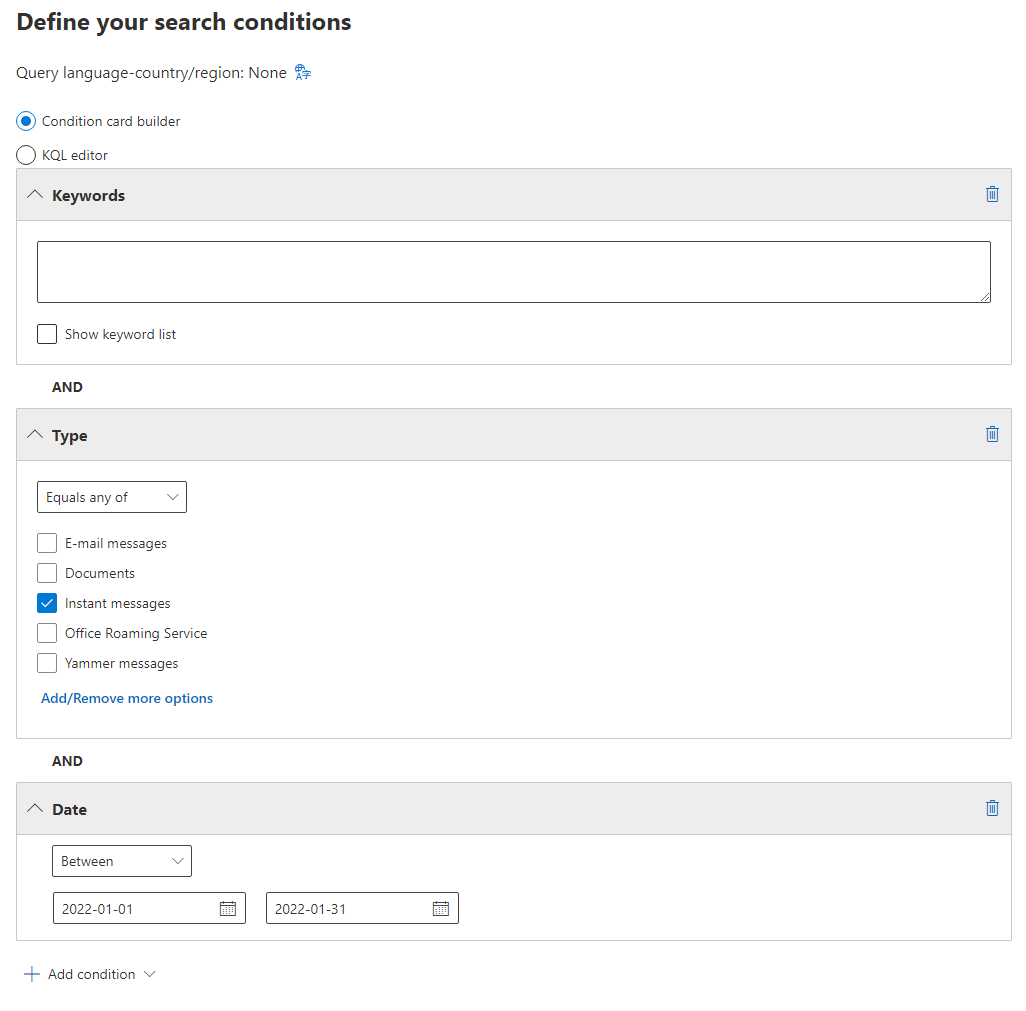
- Click next.
- A summary will appear with the information of your search for your review.
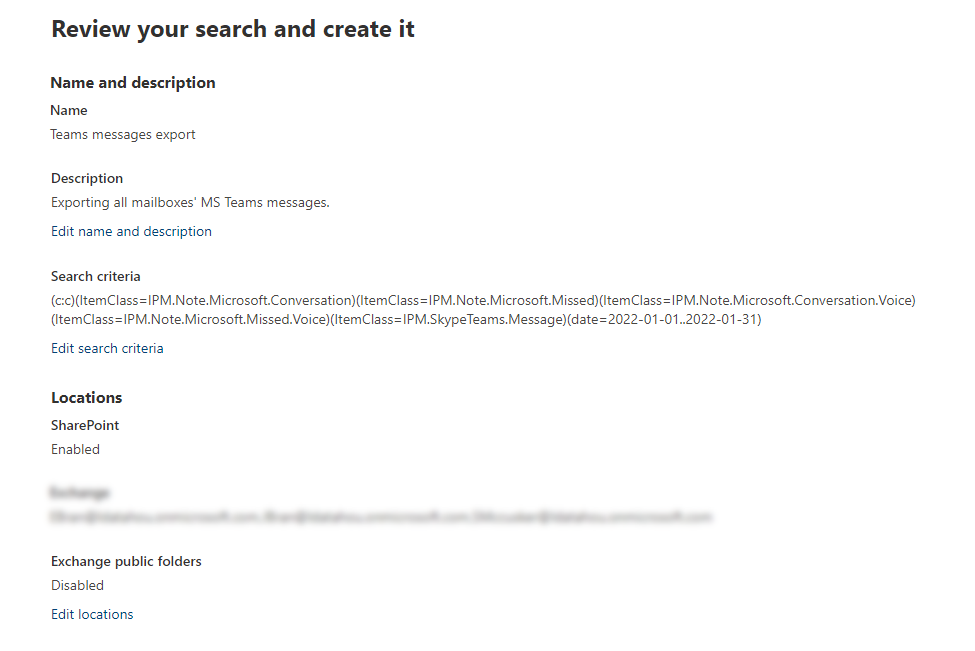
- Click “Submit”. The search will be created. You will be able to see the Search in your case’s “Searches” tab.
Execute the Search and extract the data
NOTE: Exporting results may only be performed using Microsoft Edge.
Once you’ve successfully created an eDiscovery search, you can export its results by:
- In your eDiscovery case, go to the “Searches” tab.
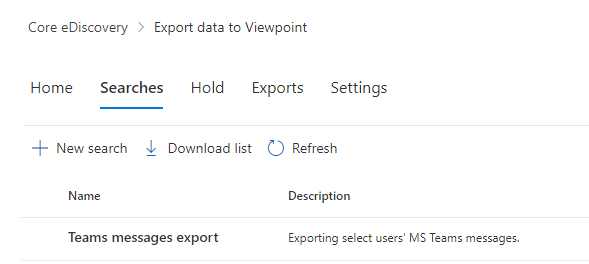
- Click on your Search’s name. This will bring up its Information and Actions window.
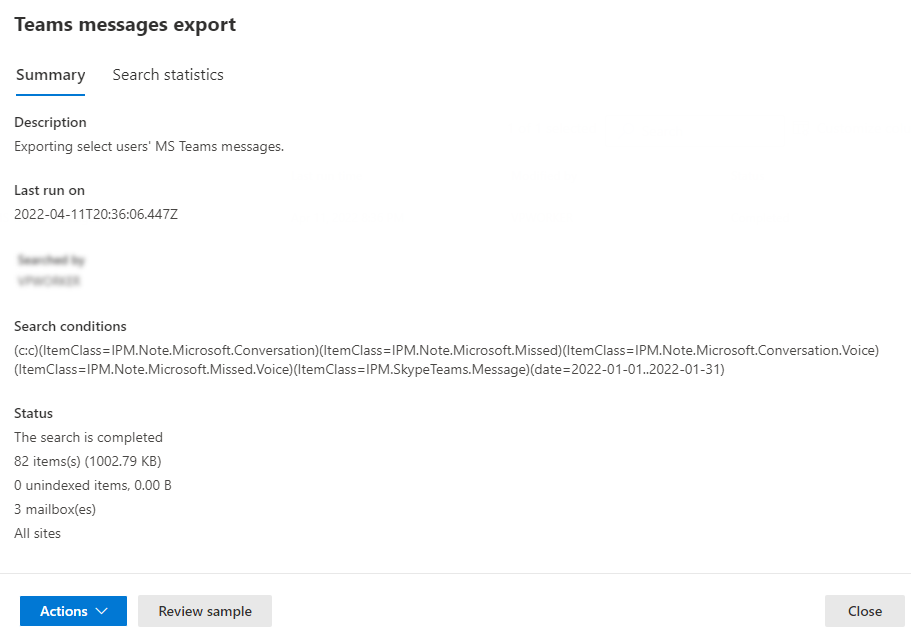
- Click on “Actions” on the lower part of the screen.
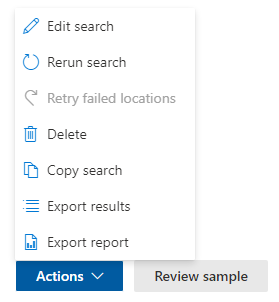
- Click on “Export results”. This will bring up another list of settings:
- Output options
- Export Exchange content as
- One PST file for each mailbox: This can be used to spread load from large datasets
- One PST file containing all messages: This can be used if you prefer having a single file
- One PST file containing all messages in a single folder * Do not use *
- Individual messages * Do not use *
Select the options you deem fit and click on “Export” in the lower part of the screen.
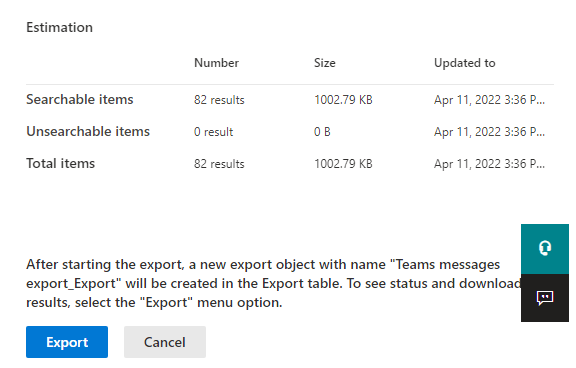
- A new message will pop up indicating that a job has been created. Go to the “Exports” tab. Your export will be in the results table.
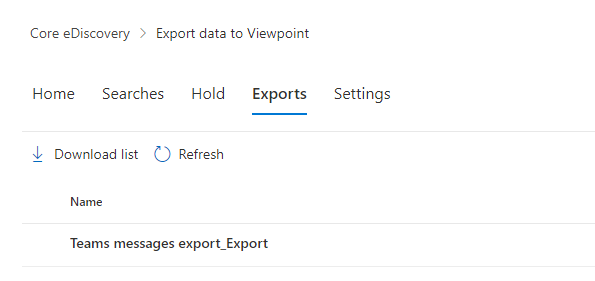
- Click on your export’s name. This will open a new pane indicating its status. Once it’s done, you will get the option to download your export, in the upper part of the pane.
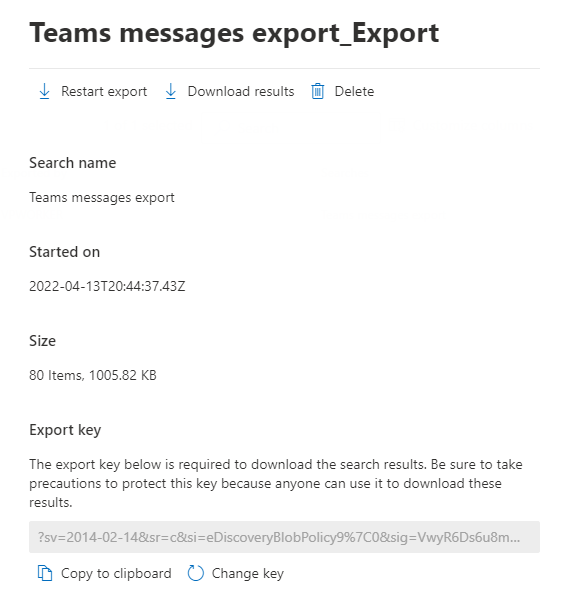
- Under “Export Key”, click on “Copy to clipboard”. Then, click on “Download results” in the upper part of the pane.
You may then get a prompt asking whether to open a file. Click on “Open”.
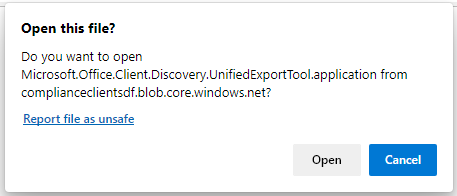
- You will now see a new window titled “eDiscovery Export Tool”. Paste the key you copied earlier into the first field. Next, select the location where you want your export to be downloaded to. There is no specific location required for Viewpoint, any drive/folder will do. After filling these fields, click “Start”.
The application will download your files into the selected location.
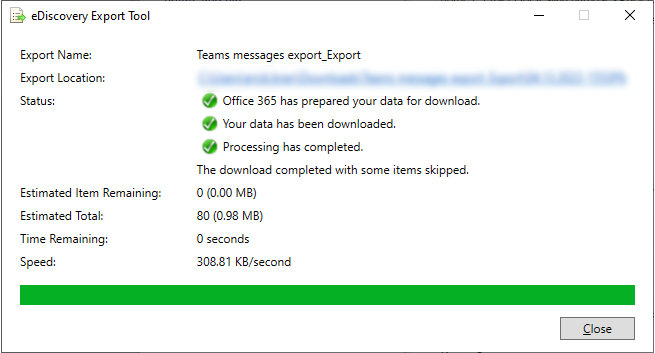
Once the download completes you may close the window.
Process the exported data in Viewpoint
Once your content has completed its download it can be processed by Viewpoint. At this point you will have one or more PST file(s) containing MS Teams data.
You may use the standard Chat processing settings inside Viewpoint Processing. Additionally, there are two new advanced settings for MS Teams:
- Clear database cache: Keep this setting to true unless directed otherwise. This will ensure the database cache remains clean after processing a PST export.
- PST file processing mode: This setting allows you to change what happens to PST files, turning off MS Teams processing, regular email processing, or keeping both on.
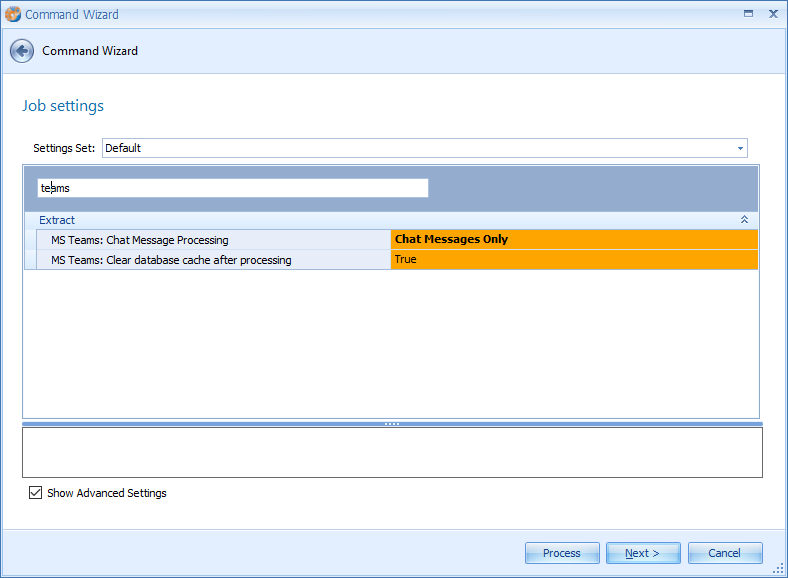
Follow the standard process for cataloging, staging, etc. the PST files.
- Catalog the PST files in Viewpoint Processing.
- Locate the cataloged document in Viewpoint Processing and ensure its FileID is set to Outlook Exchange Offline Storage.
- Run an extraction process on the Documents.
After completing these steps Viewpoint Processing will have generated chat files from the MS Teams (PST file) data.